If you need to change your DNS server address, you can do this by changing the settings in your Rebel Router GUI
To access your Router GUI
- Connect to your Rebel Wi-Fi, then go to http://192.168.40.1/ in a web browser of your choice
- Enter your password. This is the last six characters of your Router serial number, located on the back of your Router, just under the QR code.
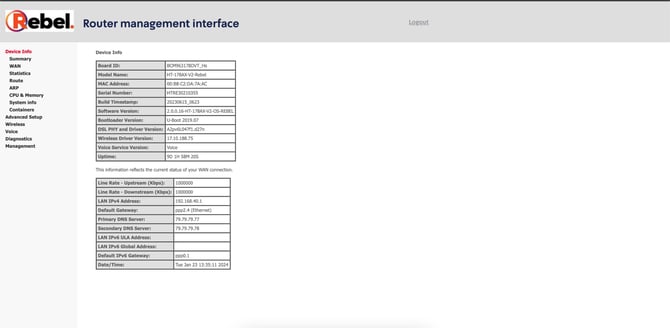
- You are now logged in
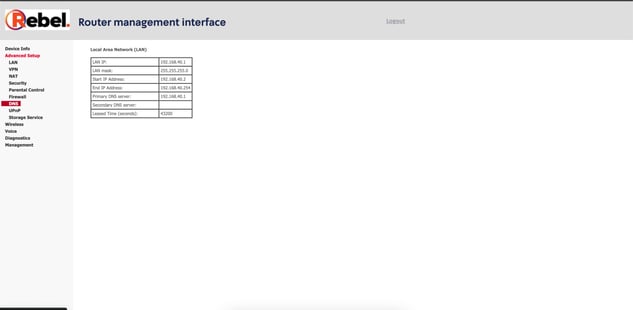
- On the left hand-side, click on “Advanced Setup” and then “DNS”
- Once you are on the DNS settings page, you will see that DNS are already configured across the different types of connection coming with your Router (Wi-Fi or Ethernet) You can add a specific DNS server address by selecting “Use the following Static DNS IP address” and use the two rows below to specify a primary and secondary DNS server you wish to use.
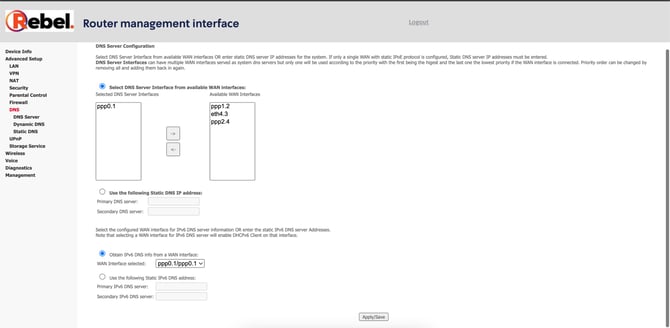
- Don’t forget to press “Apply/Save” at the bottom of the screen for the changes to take effect.